The Roof Replacement Process, Step by Step
A roof replacement should feel like a controlled project, not a crew arriving with a pile of shingles and a surprise list of extras. Here is the sequence homeowners across North Indy should expect.
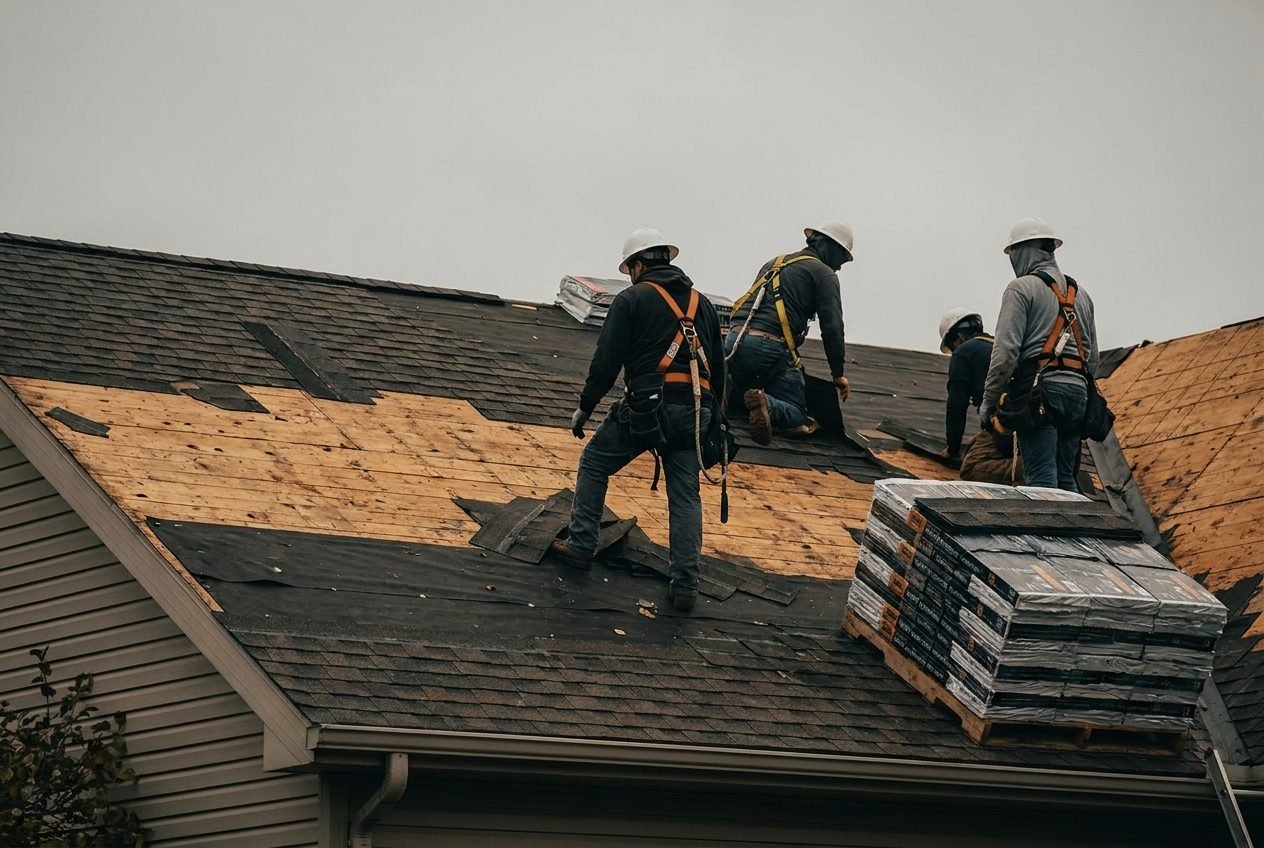
A typical roof replacement moves through inspection and scope, material selection, permitting and scheduling, site protection, tear-off, deck and flashing review, installation, cleanup, and final walkthrough. Weather, roof complexity, and concealed damage can change the pace.
1. Inspection and written scope
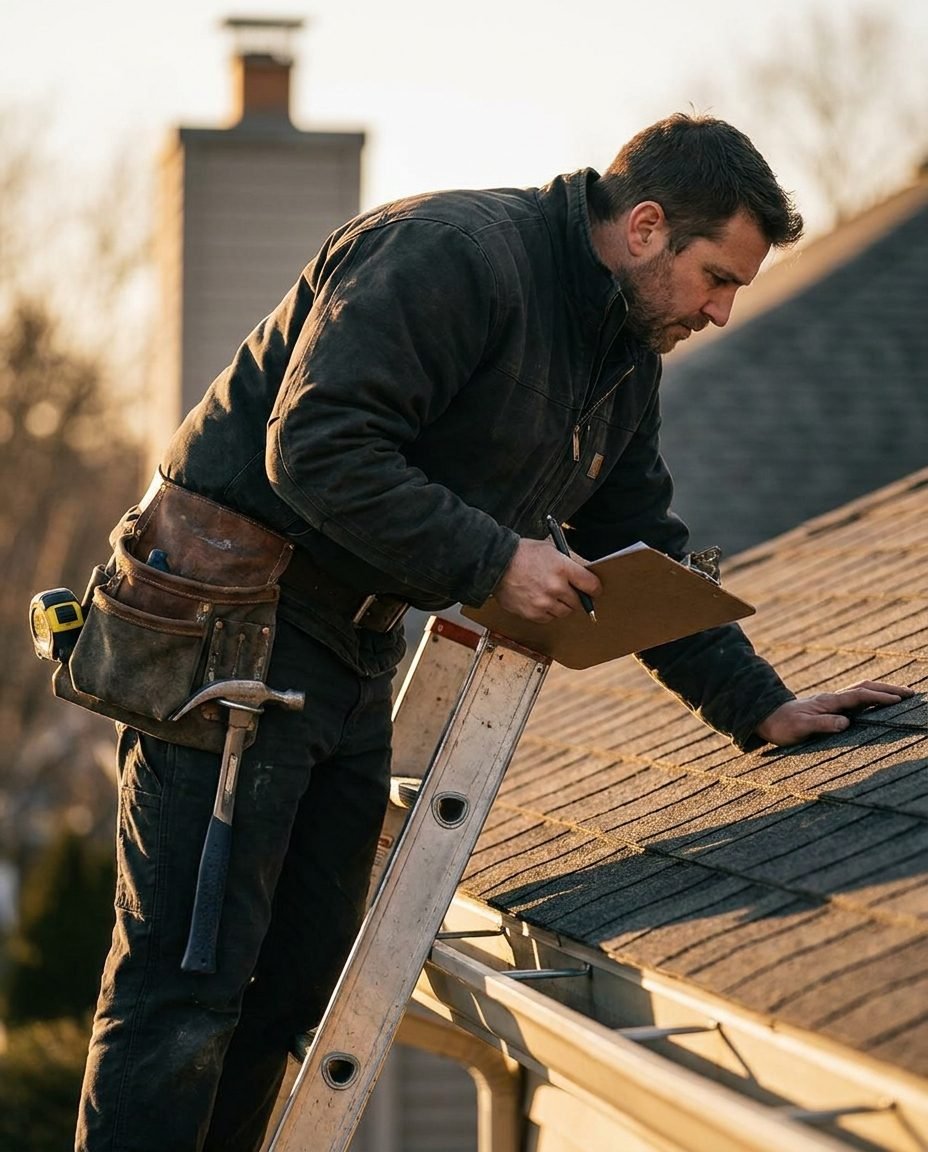
The project starts with measurements, roof-condition notes, and a conversation about goals. The estimate should explain tear-off, underlayment, flashing, ventilation, disposal, deck work, and cleanup. A homeowner should know what is fixed in the scope and what is priced only if concealed conditions are found.
This is also the right time to flag HOA review, access restrictions, skylights, solar equipment, landscaping, and any interior leak history. Good planning reduces the number of decisions made while the roof is open.
2. Materials, approvals, and scheduling
Choose the actual shingle or panel line, color, ridge-cap system, underlayment, and accessories before the start date. If an HOA or historic review applies, submit samples early. Permit responsibility should be clear as well; municipal rules vary across North Indy communities.
Scheduling is a coordination problem. Material delivery, dumpster placement, weather, crew availability, and driveway access all need to line up. A realistic contractor explains what happens if rain pushes the work window.
3. Tear-off and installation
The old roofing is removed so the deck and flashing can be inspected rather than covered. Damaged decking is documented and replaced according to the agreed process. Then the new underlayment, drip edge, flashing, field material, ridge details, and ventilation components are installed in sequence.
Protection matters during this phase. A careful crew plans for landscaping, siding, windows, driveways, and daily debris cleanup. The goal is not simply to finish the roof surface; it is to leave the property in the condition promised.
4. Final review and records
The final walkthrough should cover roof elevations, visible flashing, gutters, cleanup, attic or ventilation work, and any punch-list items. Keep the final scope, material information, permit records, warranty documents, and photos together.
If your roof was part of an insurance claim, compare the completed work with the approved scope and document any legitimate supplements promptly. A clear record is useful years later when you sell the home or need service.
A better roof decision starts with a visible scope.
- ✓Approve the scope before materials arrive
- ✓Plan for weather, access, HOA review, and concealed deck conditions
- ✓Protect the property throughout tear-off and cleanup
- ✓Leave the project with a complete record, not only a paid invoice
Turn the answer into a roof decision.
Use the related service pages for a property-specific conversation, then keep learning with the guides that answer the questions homeowners ask before they call.